
In this article I show how quickly deploying dockerized R/Shiny Apps on Microsoft Azure. So, we make them available globally within seconds. For an introduction to R, see my other post.
R/Shiny Apps are a great way of prototyping, and visualizing your results in an interactive way while also exploiting the R data science and machine learning capabilities. R/Shiny Apps are easy to build in a local development environment but they are somewhat harder to deploy. As they rely on the Linux-based Shiny server to run.
Often, we don’t want to spin up a whole Linux machine or rely on the RStudio native offerings. I show how to quickly deploy this container on Microsoft’s Azure platform and make your R/Shiny available globally within seconds.
In particular, I show how to set up the right services on Azure and deploy single Docker containers. As such the focus of this article is on getting started and achieving results quickly.
What is Azure and what is an App Service
Since you have read so far, you’re probably already familiar with what Microsoft Azure is (see my other post). Azure is Microsoft’s cloud computing service, that allows to build, deploy and host a number of services in the cloud. From storage, to virtual machines to databases and app services.
While Amazon’s Web Service (AWS) was the first on the market and is now the largest provider of cloud computing services, Azure has been catching up quickly and is particularly appealing to those in larger organizations that already have close alliances with Microsoft’s other products.
When developing the Docker element of our R/Shiny apps our focus is all on images and containers. Azure has offerings for these products as well (think Azure Container Instances). Also, it offers what is called an App Service. The Azure App Service enables you to build and host web apps without managing infrastructure. It offers auto-scaling and high availability. As such we can think of the App Service as a fully managed infrastructure platform. This allows us to focus on getting the R/Shiny app deployed, without focusing too much on the backend.
Prerequisites
For deploying dockerized R/Shiny Apps on Microsoft Azure we need to download and install some tools.
To replicate all steps of this article, you need an Azure account, which you can create here for free. While the account is free, Microsoft will charge for the services you use. With a new account, you will receive a budget for playing around with a number of services for the 12 months. Beyond that, the easiest way forward is to have a pay-as-you-go account and pay for the services you need and when you need them. Azure will only charge you for the period you use the services. The basic version of the services I suggest here should cost you no more than 20 cent per day. To get a sense of the costs, check out the Azure Price Calculator. When you create new resources on Azure, it is always a good idea to follow a naming convention; so, it will be easy to find and organize your resources.
Download Docker
You also need Docker installed on your local machine. If you haven’t done so already, you can download Docker Desktop here. Make sure Docker is running, by checking the Moby icon in your notifications area or going to your command line and typing docker --version .
To interact with Azure through the command line you need to install Azure CLI, which you can download here. Once this is done you will be able to run Azure commands in your command line by typing az followed by the command. Typing az --version in your command line shows that Azure CLI is running and lists out the version you’re using.
You can run all lines of code of this article in your preferred command line interface. However, I personally recommend using Visual Studio Code. It has great Azure, Web App, CLI and Docker extensions, offering code completion and visual control of your containers and Azure services.
Setting up Azure
There are three main ways of interacting with Azure. Firstly, Azure Portal, offers a point-and-click GUI and is a great way to see at a glance what services you have running.
Secondly, the Azure command line built in to the portal and referred to as “Cloud Shell”. Cloud Shell allows you to execute commands within the cloud environment, rather than pointing and clicking.
Thirdly, through the command line on your local machine, which allows you to execute code in the cloud from your local machine. I prefer to use this third option, as it allows me to write and save my commands and also to push locally-created containers seamlessly onto Azure. Since I trust that you can write code as least as well I as do, I will build this article around the command line interaction with Azure.
Now, you have set up an Azure account and know how to interact with it. So, we can log onto the account through the command line, typing
az login
which will take you to the browser to enter your credentials.
Creating the services
For deploying dockerized R/Shiny Apps on Microsoft Azure, we have to create some services.
The first thing we need to do is to create a Resource Group. In Azure, a resource group contains all services and resources that are used to architect a particular solution. It is good practice to create one resource group with all services that share a lifecycle. So, this makes it easier to deploy, update, and delete all related services. To create a resource group, we type
az group create --name shinyapps --location northeurope
The resource group is called shinyapps, and I have asked for the group to be deployed on Azure’s North European server farm. Azure has server centres around the world and it might make more sense choosing another location depending on your requirements.
Larger centers offer a comprehensive set of services. It is worth checking if the required services are available when planning to deploy off the beaten track. Note that even when creating a resource group in one location you can also use services in a different location in that same group.
Azure Container Registry
The next thing we need is a Container Registry, or acr for short. While the container registry is more about images than containers. Although, it’s probably best to think about it as your own Dockerhub within Azure. The acr is the place within your resource group that holds the container images we want to deploy. Registries come in different tiers from Basic to Premium. The amount of memory available to store images is the main difference between the tiers. Some additional features relevant to large-scale production environments are available in the Premium tier. For our purposes Basic will be sufficient. To create the acr, type in your commandline:
az acr create -n shinyimages -g shinyapps --sku Basic
This creates a new acr called shinyimages. Note that it needs to be a unique name. It will be created within the shinyapps resource group and we picked the Basic SKU. Once the acr is created you’ll receive a JSON-style printout confirming your settings and listing the URL your acr can be reached at. Note that this will be important when deploying containers, and that it’s not a public address.
Create a new App Service Plan
The last thing we need is an App Service Plan. Think of the service plan as a plan for your phone or your broadband: a framework of the services you can use. The plan defines a set of compute resources available for your web app to run. Similar to the acr there are different tiers from free to premium: the main difference between the tiers is the way compute power is allocated. Plans running on free (or shared) tiers share resources with other apps from other users and get allocated the free quota of CPU and other resources. Basic, Standard and Premium plans run on dedicated compute resource. We’re just testing here so you might be okay with the free tier, but bear in mind that it will take quite a while to load your app. Simply upgrading to the cheapest Basic plan (B1) speeds things up quite a bit. When you think about taking your app into production a tier with dedicated compute will likely be suitable.
az appservice plan create -g shinyapps -n shinyappplan
   --sku FREE --is-linux
Similar to creating an acr, we specify the resource group, a name for the plan and the SKU. Importantly, we need to ask for a Linux based plan as the Shiny containers we want to deploy are build on Linux.
Deploying R/Shiny apps
Right, now that we’ve set up our architecture, let’s get ready to deploy our R/Shiny app. So far, we have developed on our local machine and we’re confident it’s ready to go and say “hello world”.
The first thing we need to do is to get the Docker image from our local environment pushed into the cloud. This needs a little bit of prep work. Let’s log on to the acr we created on Azure.
docker login shinyimages.azurecr.io
Doing this will prompt you to enter username and password, or you can add the -u and -p arguments for username and password.
Now we create a tag of the image that already exists to have the full name of the acr slash the name we want our image to have on Azure
docker tag shiny_app shinyimages.azurecr.io/shiny_app
And lastly, push up the image:
docker push shinyimages.azurecr.io/shiny_app
Once everything is pushed, you’ll again receive a JSON-style print in the console. To check which images are in your acr, type:
az acr repository list -n shinyimages
This will list out all the images in there, which is one at the moment.
Deploy the image
The last thing left to do now is to deploy the image. We do this by creating a new webapp that runs our image. We specify the resource group (-g), the app service plan (-p), the image we want to deploy (-i) and give our app a name (-n). Note first that the name of the app needs to be unique within the Azure universe (not just your account). Note second that as soon as the webapp has been created it is available globally to everyone on the internet.
az webapp create -g shinyapps -p shinyappplan -n myshinyapp
   -i shinyimages.azurecr.io/shiny_app
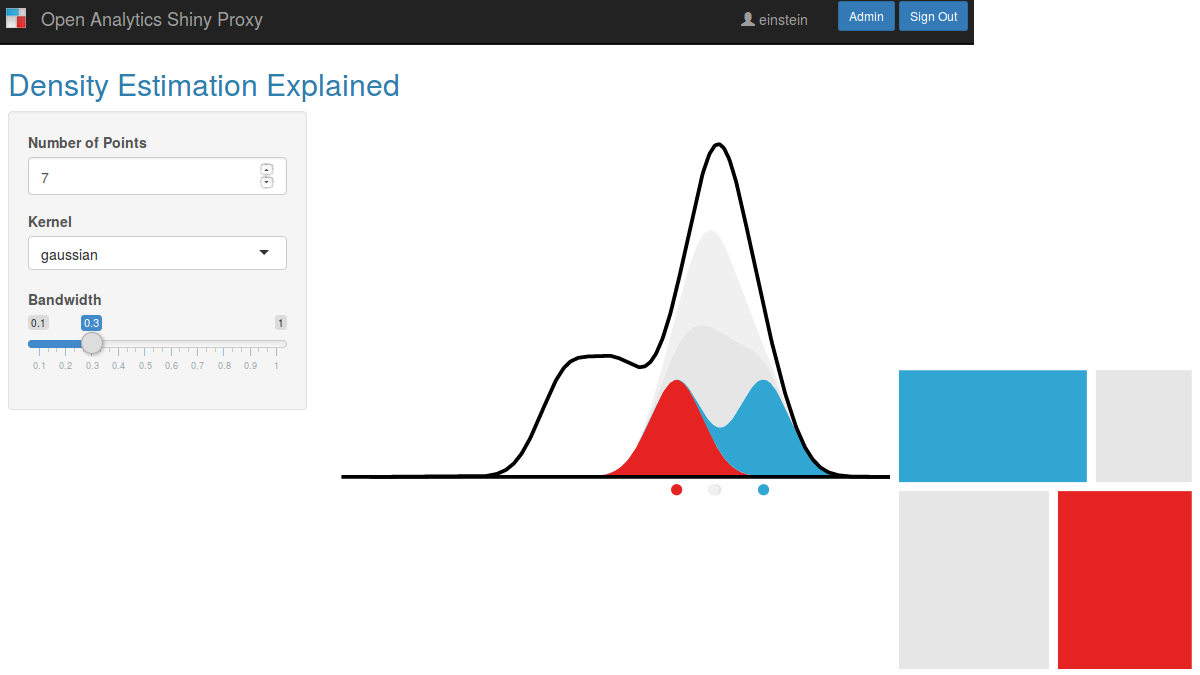
Once the command has been executed you receive a the JSON-style printout, which among other things includes the URL at which your app is now available. This is the name of your app and the Azure domain: https://myshinyapp.azurewebsites.net
That was easy. You might have a set of containers composed together using docker-compose. Deploying a multi-container setup is similarly simple. Rather than specifying the image we want to deploy, we specify that we want to compose a multi-container app, and which compose file we want to use to build our container set up. Make sure you have all images in your acr and the YAML file in the folder you execute the line from.
az webapp create -g shinyapps -p shinyappplan -n myshinyapp
   --multicontainer-config-type compose
   --multicontainer-config-file docker-compose.yml
Summary and Remarks
The chart below summarizes the architecture we have constructed to deploy our R/Shiny apps. Once all the services are running it really is just a two lines of code process to first push the containers onto Azure, and then deploy them as app service.

While this was an introduction to get started fast with deploying your R/Shiny app, there are many more features that I have not covered here but that will be useful when taking your app to production. The most important thing to note here is that our app is available to everyone who has access to the internet (and has the link). Using Azure Active Directories, we can restrict access to a limited number of people who we authorize beforehand.
What I have shown here is a manual process of pushing the containers up and then deploying. Azure offers functionalities to build in triggers to quickly rebuild images and ship new versions of the app when, say, you commit a new version to your Git repository.
Finally, I have assumed here that you have admin rights to create each of the services. Working in a larger organization that is likely not the case, so it’s important to watch out for the privileges you have and which you are willing to share when bringing in other people to join your development and deployment process.
Before I let you go, I just want to point out how to clean up when you’re done exploring the functionality. This is good practice and also saves you money for services you are not using. Since we have deployed everything in one resource group, all we have to do is to scrap that group and all services deployed within it will be deleted with it. We do this like so:
az group delete -n shinyapps
Conclusion
In conclusion, this is how deploying dockerized R/Shiny Apps on Microsoft Azure. If you have any question, please use your forum.

3 thoughts on “Deploying dockerized R/Shiny Apps on Microsoft Azure”