As, Microsoft has just announce the official release today, I want you getting started with Windows Terminal, as I said in my previous post on this blog.
Installation
This tool is available in two different builds: Windows Terminal and Windows Terminal Preview. Both builds are available for download from the Microsoft Store and from the GitHub releases page.
Requirements
In order to run either Windows Terminal build, your machine must be on Windows 10 1903 or later.
Windows Terminal Preview
This version of Windows Terminal Preview is the build where new features arrive first. This build is intended for those who like to see the latest features as soon as they are released. This build has a monthly release cadence with the newest features each month.

Windows Terminal
Therefore, this is the main build for the product. Features that arrive in Windows Terminal Preview appear in Windows Terminal after a month of being in production. This allows for extensive bug testing and stabilization of new features. This build is intended for those who want to receive features after they have been introduced and tested by the Preview community.
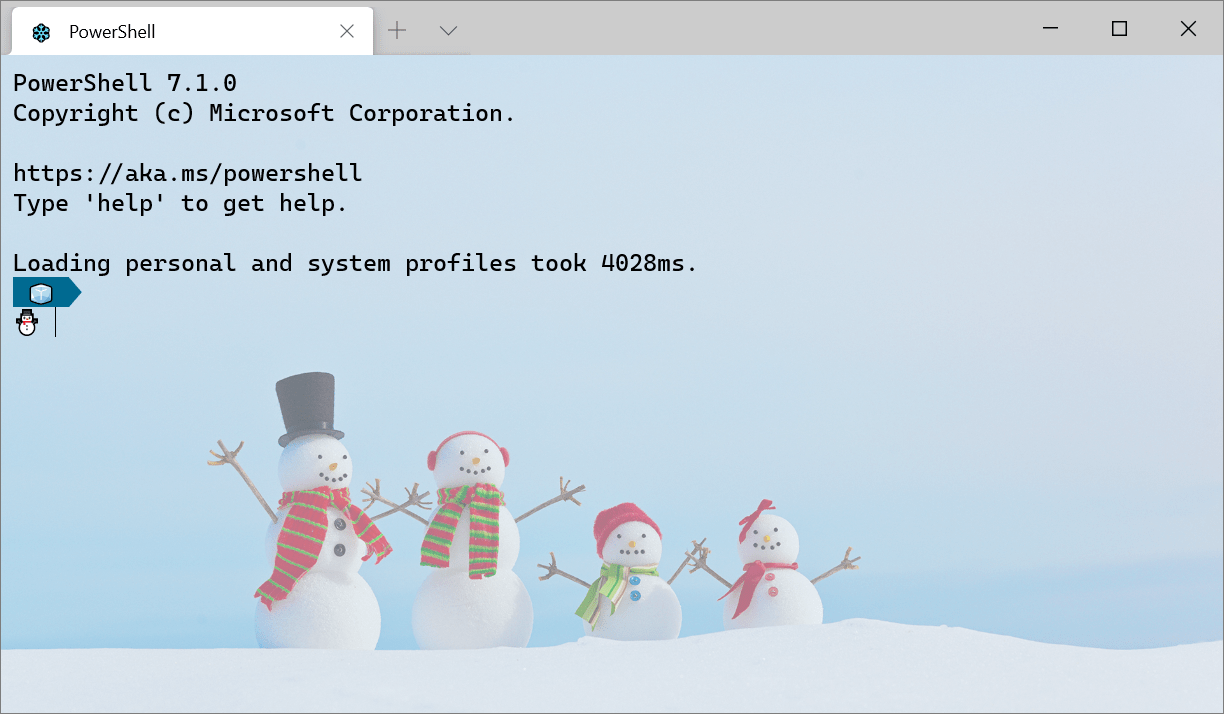
First launch
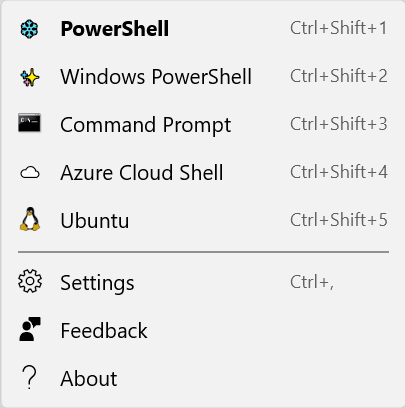
After installing the terminal, you can launch the app and get started right away with the command line. By default, the terminal includes Windows PowerShell, Command Prompt, and Azure Cloud Shell profiles inside the dropdown. If you have Windows Subsystem for Linux (WSL) distributions installed on your machine, they should also dynamically populate as profiles when you first launch the terminal.
Profiles
Now, profiles act as different command line environments that you can configure inside the terminal. By default, each profile uses a different command line executable, however you can create as many profiles as you’d like using the same executable. Each profile can have its own customizations to help you differentiate between them and add your own flair to each one.
Default profile
Upon first launch of Windows Terminal, the default profile is set to Windows PowerShell. The default profile is the profile that always opens when you launch the terminal and it is the profile that will open when clicking the new tab button. You can change the default profile by setting "defaultProfile" to the name of your preferred profile in your settings.json file.
"defaultProfile": "PowerShell"
Adding a new profile
Getting started with Windows Terminal involved to add new profiles. New profiles can be added dynamically by the terminal or by hand. Windows Terminal will create profiles for PowerShell and WSL distributions automatically. These profiles will have a "source" property that tells the terminal where it can find the proper executable.
If you’d like to create a new profile by hand, you just need to generate a new "guid", provide a "name", and provide the executable for the "commandline" property.
Note: You will not be able to copy the
"source"property from a dynamically generated profile. The terminal will just ignore this profile. You will have to replace"source"with"commandline"and provide the executable in order to duplicate a dynamically generated profile.
Settings.json structure
Getting started with Windows Terminal also with the settings structure. There are two settings files we can use to configure Windows Terminal. One is defaults.json, which can be opened by holding the Alt key and clicking the Settings button in the dropdown. This is an unchangeable file that includes all of the default settings that come with the terminal. The second file is settings.json, which is where you can apply all of your custom settings. The have access to those files, clicking the Settings button in the dropdown menu.
The settings.json file is split into four main sections. The first is the global settings object, which lives at the top of the JSON file inside the first {. Settings applied here will affect the entire application.
Looking down the file, the next main section is the "profiles" object. The "profiles" object is split into two sections: "defaults" and "list". You can apply profile settings to the "defaults" object and these will apply to all profiles in your "list". The "list" contains each profile object that represents the profiles described above and these are the items that appear in your terminal’s dropdown menu. Settings applied to individual profiles in the "list" will override settings applied in the "defaults" section.
Further down in the file is the "schemes" array. This is where custom color schemes can be placed. A great tool to help you generate your own color schemes is terminal.sexy.
Lastly, at the bottom of the file, lives the "actions" array. Objects listed here add actions to your terminal, which can be invoked by the keyboard and/or found inside the command palette.
Basic customizations
Now, here are some basic settings to get you started with customizing your terminal.
Background image
First, one of our most popular settings is the custom background image. This is a profile setting, so it can either be placed inside the "defaults" object inside the "profiles" object to apply to all profiles or inside a specific profile object.
"backgroundImage": "C:\Users\admin\background.png"
The "backgroundImage" setting accepts the file location of the image you would like to use as your profile background. Accepted file types include .jpg, .png, .bmp, .tiff, .ico, and .gif.
Color scheme
Second, the list of available color schemes can be found on our docs site. Color schemes are applied at the profile level, so you can place the setting inside "defaults" or in a specific profile object.
"colorScheme": "COLOR SCHEME NAME"
This setting accepts the name of the color scheme. You can also create your own color scheme and place it inside the "schemes" list, then set the profile setting to the name of that new scheme to apply it.
Font face
By default, Windows Terminal uses Cascadia Mono as its font face. The font face is a profile level setting. You can change your font face by setting "fontFace" to the name of the font you would like to use.
"fontFace": "FONT NAME"`
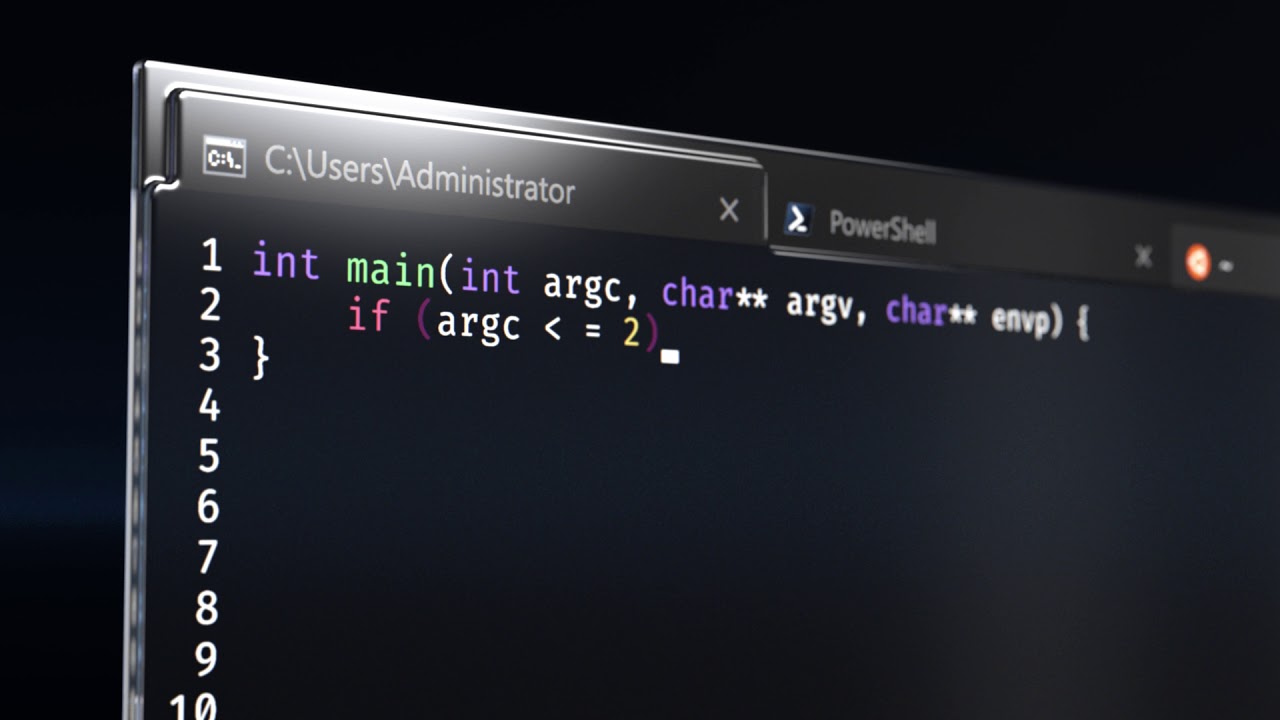
Tip: Windows Terminal also ships with the Cascadia Code font face, which includes programming ligatures (see gif below). If you are using Powerline, Cascadia Code also comes in a PL version which can be downloaded from GitHub.
Great resources
- Windows Terminal documentation
- How to make a pretty prompt in Windows Terminal with Powerline, Nerd Fonts, Cascadia Code, WSL, and oh-my-posh by Scott Hanselman
- How to set up an awesome prompt with your Git Branch, Windows Terminal, PowerShell, + Cascadia Code! by Scott Hanselman
- Windows Terminal Feature PREVIEW – Customize your keybindings, color tabs, split panes, and MORE! by Scott Hanselman
- >_TerminalSplash – Windows Terminal themes


3 thoughts on “Getting started with Windows Terminal”