In this article, we will learn how integrating AdminLTE with ASP.NET Core 3.1 MVC or really any other Bootstrap based UI Frameworks completely from scratch. We will also go through about integrating Identity Server to our MVC Application. Also, you will gain quite a lot of practical knowledge on Views, Layouts, Partial Views, Conditional Rendering, Navigation Indicator and much more.
What we will learn and build?
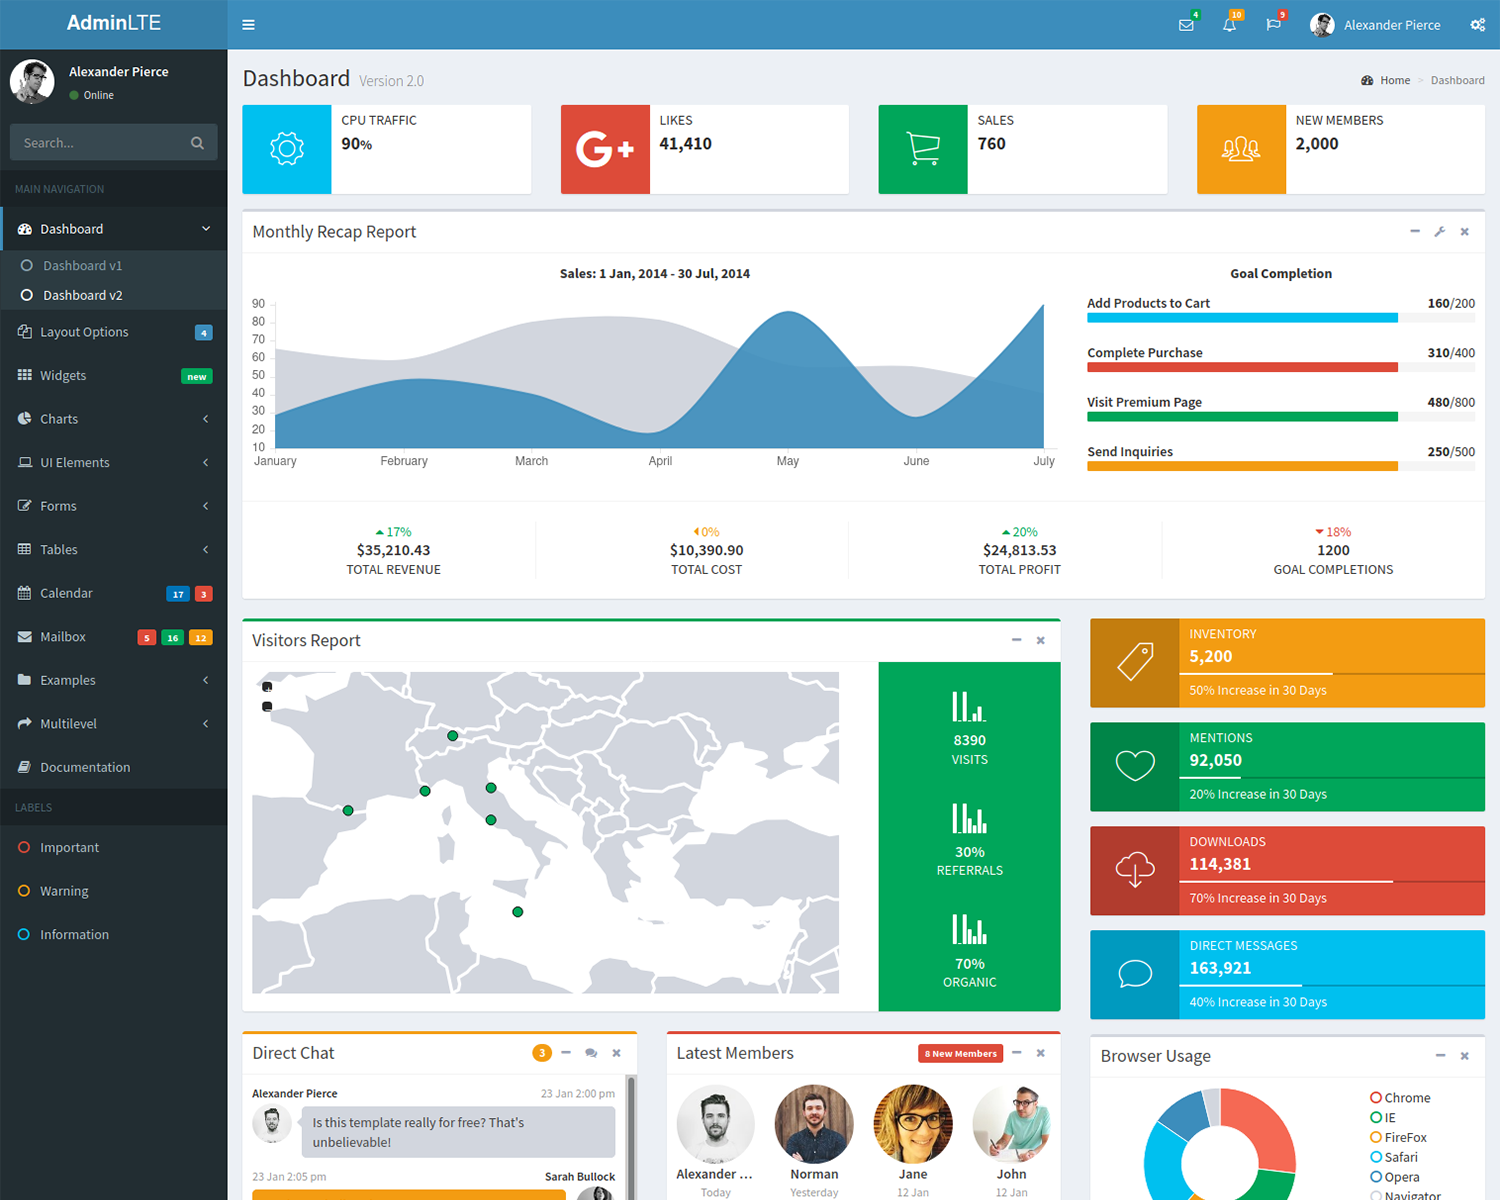
Here is a small demonstration of what we would have built by the end of this tutorial.
- Integration with a Third-Party Bootstrap Template.
- Clean usage and separation of Layouts, Views and Partial Views.
The need to Integrate Third-Party Bootstrap UI
If you are back-end developer like me with just OKayish skills with recreating an entire HTML / CSS / JS Template from scratch, you would want to investigate other options that make your application look one hundred times more Professional. Now, there are quite a lot of options, including paid templates as well.
For this article, we will use an Open-Sourced Dashboard Template that is quite popular.
Here are the advantages of integrating an already built template.
- Professional UI
- Already Tested.
- Responsive.
- Would have a bunch of reusable components like datatables, forms, and more so that you don’t have to re-invent the wheel.
What’s AdminLTE?
AdminLTE is an open-sourced Admin Dashboard Template that is built over Bootstrap. It is packed with quite a lot of responsive and commonly used components that are very easily integrated with your webapplications.
To get a better picture, click here to see a demo of AdminLTE in action.
You may notice how premium it already looks. For now, these pages are not bound to any server-side applications. They are just plain old HTML files. In this article we will integrate AdminLTE this UI with our ASP.NET Core MVC Application with some clean practices.
Downloading AdminLTE
AdminLTE is completely FREE to use. Follow this link to start downloading. At the time of writing this article, 3.0.5 is the latest version available. Click on the link to Source Code to download the zipped file on to your machine. Also, on GitHub you have an update version of the final project.

The version 3.0.5 is the stable version we can use for your project. At the time I’m writing this post, there is a pre-release and I’m using this one for the project.

Exploring the Folder Structure
Before integrating AdminLTE with ASP.NET Core, we have to analyse the structure of the template. Once downloaded, extract the zipped file. Here you will find a bunch of folders and files. We will not have to touch each file, just a few. I will give you a brief overview on what each folder contains.
- dist – This is the distribution folder that contains all the css and js files, mostly all the static files of the application. We will need to copy this folder over to
wwrootfolder of our MVC Project later. - pages – Here you get a list of all pre-made HTML files to refer to. This is quite an important section as it uses all the available components and can be helpful to check out how components are being utilized.
- plugins – third party JS plugins like select2,
jQuery,datatables, etc are contained here. We will need this folder too. - starter.html – Here we get a minimal setup of the HTML file. We will be using this page to generate the
_Layout.cshmlfor our ASP.NET Core MVC Application. I have attached a screenshot below.

Setting up ASP.NET Core MVC Project for integrating AdminLTE
Let’s create a new ASP.NET Core Application with the Model-View-Controller (MVC) Template. Make sure you select the authentication mode to Individual User Accounts. This enables us to use the built in Authentication (using Microsoft Identity). I will be using Visual Studio 2019 Community.

Now that we have our AdminLTE files and ASP.NET Core Application ready, let’s start integrating them. Before getting started, let’s see how the default layout of ASP.NET Core work.
Understanding Layouts and Partial Views
Now, in the process to how integrating AdminLTE with ASP.NET Core, we build and run the Application. This is the default layout that comes out of the box with ASP.NET Core 3.1 Web Applications.

This is how the page is split into.
- Main Layout Page – This is the master layout defined at /Views/Shared/_Layout.cshtml
- Navigate Panel – Within the master layout,a partial view reference is defined that calls the _LoginPartial.cshtml page.
- Content Body – Here is where the actual content goes.
PS, ASP.NET Core uses
.cshtml(Razor markup files) extension for its pages.
Now why this kind of seperation?
In ASP.NET Core MVC, you can generate Views (CHTML) via controllers. Imagine a real-life application having multiple controllers and views. You really don’t want to define the entire HTML for each view, do you? Because we already know that we will be having a site-wide common template.
So, what this Layout concept does is that you define the layout cshtml just once and add the content of each other pages dynamically within the layout page.
So, you define the entire HTML Part that would be common throughout the application, and you separate the dynamic content in another cshtml page. This way, we can make the application much more maintainable and reduce the size of the entire application. Get the point?
Examine _Layout.cshtml
Let’s examine the file where the default layout is defined. Since we created a MVC templated application, we can find this file at ../Views/Shared/_Layout.cshtml in the solution structure. You can see that this page starts with a HTML tag. This suggests that this is an entire HTML page with all the body and head tags.
Now somewhere at line 33 or so, you would see the following.
<div class="container">
    <main role="main" class="pb-3">
        @RenderBody()
    </main>
</div>
@RenderBody is used to render the content of the child page. When you run the ASP.NET Core application, it navigates to the root of the application, that is, localhost:XXXX/Home and invokes the Index Method in the HomeController (as it is set as the default route). Let’s see what this method contains.
public IActionResult Index()
{
    return View();
}
It just returns a view (.cshtml). Right click on the View and click Go to View. This will take us to associated CSHTML File.

Examine Index.cshtml
You will be navigated to Views/Home/Index.cshtml. Here is the content of the page. This is exactly what we saw on the page when we ran the application.
@{
    ViewData["Title"] = "Home Page";
}
<div class="text-center">
    <h1 class="display-4">Welcome</h1>
    <p>Learn about <a href="https://docs.microsoft.com/aspnet/core">building Web apps with ASP.NET Core</a>.</p>
</div>
This content is loaded by the @RenderBody tag, so that on runtime you get the complete web page (including the static HTML content and the dynamic code generated by C#). Now, let’s talk a bit on partial views. In your _Layout.cshtml page, you may find this somewhere in 20th line or so.
<partial name="_LoginPartial" />
Unlike Views, Partial Views in ASP.NET Core renders the HTML output within another View’s rendered output. There can be cases where your applications have components that can be reused anywhere within the application. In our case we have the top Navigation bar that is quite common through the application. You can find the _LoginPartial.cshtml in the shared folder as well.
Integrating AdminLTE with ASP.NET Core
With the basic concepts of Layouts, View and partial Views clear, it will be easier to integrate any 3rd Party HTML Layout to our ASP.NET Core Applications. Let’s proceed.
Copying the Required Resources
As mentioned earlier, AdminLTE is built over Bootstrap. Hence it contains quite a lot of jQuery and is integrations as well. We would not be just copying the HTML content, but also the related resources, like CSS, images, libraries, js files, etc.
In our AdminLTE Folder, navigate to \dist\css and copy the content over to the wwwroot\css folder in our Visual Studio. Do the same for the is folder as well.
To copy the contents over, just copy the selected folder/file and go the Visual Studio. Here you may find a wwwroot folder. This is the folder meant to hold the static files of ASP.NET Core applications. Just paste the copied file here with a simple CTRL+V command.
Next copy the entire img folder to the wwwroot folder. Navigate back to the root of the AdminLTE folder and copy the plugins folder to the wwwroot folder as well.
Note that we will not be using all the plugins in the plugins folder for now. You may need to remove the unused files once you are done with the application to save small space. For now, let’s keep them.
This is how your wwwroot folder would look like after we are done copying the content.

Now that we have all the required resources moved to our application. Let’s wire up the Layout Page.
Adding Layout pages & Partial Views
An Application can have multiple Layout pages. For this tutorial, let’s not disturb the existing _Layout.cshtml page. Rather, let’s build one specifically for AdminLTE.
In the Shared Folder, create a new folder named AdminLTE. Here is where you would want to put all the .cshtml related to AdminLTE.
Before building the layout pages and partial views, let’s decide on how we will separate the HTML content. Note that we will be using the starter.html page to build the Layout. Open the starter.html page on your browser.

Here is how we could split up the page into.
- Side Navigation
- Top Navigation
- Body
- Footer
Additionaly we will want to add 2 more partial views that will hold the references to the CSS and js files, respectively. This makes it easier to sort and manage your resource references.
Under the AdminLTE Folder create a new View and name it _Layout.cshtml. Make sure to uncheck the partial view and layout page options.

Next, let’s start adding the partial view files. In the same AdminLTE folder, add a new view and name it _MainNavigation.cshtml. This time, check the “create as a partial view” option.

Similarly, add other partial views with the following file names.
- _TopNavigation
- _Footer
- _Scripts
- _Styles
This way, you can neatly structure you Layouts.

Let’s start adding content to each file. So, now we have the idea of how we will split the HTML. Open starter.html in a code editor. I use VS Code. The starter.html has over 330 lines of HTML. Let’s move the code one by one.
Scripts
Go to the end of the file. Above the body tag, you can find few of the script reference there. Cut it and Paste it over to _Scripts.cshml. Replace in the starter.html with the following.
<partial name="AdminLTE/_Scripts" />
Footer
Just above where the scripts were defined, you can find the footer container. Cut this and move to _Footer.cshtml. Add the following instead in the starter.html. We will move the codes from here to the _Layout.cshtml once we are done with the partial views.
<partial name="AdminLTE/_Footer" />
Body
You can find a div class “content”. Delete the entire child div which has a class named “row” This is where we would want to put our @RenderBody tag.
Main Navigation
Search for a class “main-sidebar”. Cut it and move it to _MainNavigation.cshtml. Here you have all the sidebar items at once place for you to extend.
<partial name="AdminLTE/_MainNavigation" />
Top Navigation
Search for the class “main-header” and move the content over to _TopNavigation.cshtml.
<partial name="AdminLTE/_TopNavigation" />
Styles
Below the title tag, you can see a bunch of stylesheet references. Cut and paste to _Scripts.cshtml and Replace with the following instead.
<partial name="AdminLTE/_Styles" />
Now, we have moved all the possible components to partial views. What remains in our code editor would look something like this. Move this to the _Layout.cshtml
<!DOCTYPE html>
<html lang="en">
<head>
    <meta charset="utf-8" />
    <meta name="viewport" content="width=device-width, initial-scale=1" />
    <meta http-equiv="x-ua-compatible" content="ie=edge" />

    <title>AdminLTE 3 | Starter</title>
    <partial name="AdminLTE/_Styles" />
</head>
<body class="hold-transition sidebar-mini">
    <div class="wrapper">
        <partial name="AdminLTE/_TopNavigation" />
        <partial name="AdminLTE/_MainNavigation" />
        <div class="content-wrapper">
            <div class="content-header">
                <div class="container-fluid">
                    <div class="row mb-2">
                        <div class="col-sm-6">
                            <h1 class="m-0 text-dark">Starter Page</h1>
                        </div>
                        <div class="col-sm-6">
                            <ol class="breadcrumb float-sm-right">
                                <li class="breadcrumb-item"><a href="#">Home</a></li>
                                <li class="breadcrumb-item active">Starter Page</li>
                            </ol>
                        </div>
                    </div>
                </div>
            </div>
            <div class="content">
                <div class="container-fluid">
                    @RenderBody()
                </div>
            </div>
        </div>
        <aside class="control-sidebar control-sidebar-dark">
            <div class="p-3">
                <h5>Title</h5>
                <p>Sidebar content</p>
            </div>
        </aside>
        <partial name="AdminLTE/_Footer" />
    </div>
    <partial name="AdminLTE/_Scripts" />
</body>
</html>
We have separated the HTMLs to layouts and partial views. Now build and run the application. You would see absolutely no change. Why? Because we have not mentioned anywhere to use our new layout, have we?
Update the UI
For this, Navigate to Views/Home/Index.cshtml and mention the layout manually.
@{
    ViewData["Title"] = "Home Page";
    Layout = "~/Views/Shared/AdminLTE/_Layout.cshtml";
}
After this, run the application again. You would see quite of lot of changes. The entire page would be broken. However, you can see that we are able to display the content we passed from the View. Now let’s the fix the page.

Any guesses on why this page is broken? It’s quite simple if you already have experiences with HTML pages. This is commonly because the page cannot find the stylesheets that contains the styles defined. We copied the styles and scripts to the Partial Views, but we did not change the references. Let’s change the paths to point to the specific files in the wwwroot folder.
Open _Styles.cshtml and modify as below
<link rel="stylesheet" href="~/plugins/fontawesome-free/css/all.min.css">
<link rel="stylesheet" href="~/css/adminlte.min.css">
<link href="https://fonts.googleapis.com/css?family=Source+Sans+Pro:300,400,400i,700" rel="stylesheet">
Open up _Scripts.cshtml and modify as below
<script src="~/plugins/jquery/jquery.min.js"></script>
<script src="~/plugins/bootstrap/js/bootstrap.bundle.min.js"></script>
<script src="~/js/adminlte.min.js"></script>
That’s it. Run the application again.

There you go! You can see that the page starts looking great. The only issue is a broken image reference. You can fix it similarly by going to _MainNavigation.cshtml and fixing the reference issue like we did earlier.
Now, let’s add this layout to the Privacy Page too! Go to Views/Home/Privacy.cshtml add in the following line.
@{
    ViewData["Title"] = "Privacy Policy";
    Layout = "~/Views/Shared/AdminLTE/_Layout.cshtml";
}
Run the application and navigate to localhost:xxx/home/privacy. This is what we get. We are all setup now.

Conclusion
So, at the end of this post you have a working project and I explained how integrating AdminLTE with ASP.NET Core 3.1. The result is in the following image.

If you want to download the final project, I have publish it on GitHub. In my next post, I’m adding more functionalities to the project for navigation indicator in the main navigation, implementing a nice breadcrumb system and show a Gravar image.


5 thoughts on “Integrating AdminLTE with ASP.NET Core”