In this new post, I’m going to show how to export data to Excel in Blazor WebAssembly or Server. Creating and exporting data to Excel file is one of the frequently used feature in web apps.
First, for creating an export in Excel, I will use a free library that is a NuGet package. ClosedXML is a .NET library for reading, manipulating and writing Excel 2007+ (.xlsx, .xlsm) files. It aims to provide an intuitive and user-friendly interface to dealing with the underlying OpenXML API.
So, you can download the full source code of this post from GitHub.
Then, for more documentation, example and components about Blazor, here same links in this blog:
- Getting Started With C# And Blazor
- Setting Up A Blazor WebAssembly Application
- Working With Blazor’s Component Model
- Secure Blazor WebAssembly With IdentityServer4
- Blazor Using HttpClient With Authentication
- InputSelect component for enumerations in Blazor
- Use LocalStorage with Blazor WebAssembly
- Modal Dialog component for Blazor
- Create Tooltip component for Blazor
- Consume ASP.NET Core Razor components from Razor class libraries | Microsoft Docs
At the end of this post, I can download an export in Excel from a Blazor application. Here the result.

Create the solution
First, we have to create a solution and 2 projects. The first one is a Blazor WebAssembly project and the other one is an ASP.NET Core WebAPI project. I showed how to create those kind of projects in few posts and you have the list at the top. If you want or not sure, you can download the source code from GitHub. The result is like the following screenshot.

Now, in the API project, I’m going to add the ClosedXML NuGet package or type
Install-Package ClosedXML
This library is free and there are some extensions:
- https://github.com/ClosedXML/ClosedXML.Report
- https://github.com/ClosedXML/ClosedXML.Extensions.AspNet
- https://github.com/ClosedXML/ClosedXML.Extensions.Mvc
- https://github.com/ClosedXML/ClosedXML.Extensions.WebApi
Also, I recommend to look at ClosedXML.Report repository because it allows you to create very nice report with Excel based on an Excel template.
So that, I’m going to create a Models folder in the WebAPI project and then a new class for Author (very original eheh)
public class Author
{
	public int Id { get; set; }
	public string FirstName { get; set; }
	public string LastName { get; set; }
}
Then, in another folder, I’m creating the AuthorData where there is a list of authors.
public static class AuthorData
{
	static List<Author> Authors = new List<Author>
	{
		new Author { Id = 1, FirstName = "Enrico", LastName = "Rossini" },
		new Author { Id = 2, FirstName = "Donal", LastName = "Duck" },
		new Author { Id = 3, FirstName = "Mickey", LastName = "Mouse"}
	};
}
Create Export service
Now, I’m creating a new Services folder and a new ExportService class. The easy way to export our data in Excel is creating an CSV file (comma-separated). Quick and easy. Here the code
using PSCBlazorExportExcel.Api.Models;
using System;
using System.Collections.Generic;
using System.Linq;
using System.Text;
using System.Threading.Tasks;

namespace PSCBlazorExportExcel.Api.Services
{
	public class ExportService
	{
		public string GetCSV(IEnumerable<Author> list)
		{
			StringBuilder stringBuilder = new StringBuilder();
			stringBuilder.AppendLine("Id,FirstName,LastName");
			foreach (var author in list)
			{
				stringBuilder.AppendLine($"{author.Id},{author.FirstName},{ author.LastName}");
			}

			return stringBuilder.ToString();
		}
	}
}
So, this is cool but we can do better! Let’s use ClosedXML.
Create a proper Excel file
Now, a workbook in Excel consists of several worksheets. You can create an Excel workbook using the following code.
var workbook = new XLWorkbook();
You can then take advantage of the IXLWorkSheet interface to create and add worksheets to the workbook as shown below.
IXLWorksheet worksheet = workbook.Worksheets.Add("Authors");
worksheet.Cell(1, 1).Value = "Id";
worksheet.Cell(1, 2).Value = "FirstName";
worksheet.Cell(1, 3).Value = "LastName";
for (int index = 1; index <= authors.Count; index++)
{
   worksheet.Cell(index + 1, 1).Value = authors[index - 1].Id;
   worksheet.Cell(index + 1, 2).Value = authors[index - 1].FirstName;
   worksheet.Cell(index + 1, 3).Value = authors[index - 1].LastName;
}
Lastly, you can save the workbook as a memory stream as shown below.
private byte[] ConvertToByte(XLWorkbook workbook)
{
	var stream = new MemoryStream();
	workbook.SaveAs(stream);

	var content = stream.ToArray();
	return content;
}
Now, I can use this function to create an API that returns FileContentResult. We will see that in a moment. So, this is the full code of the ExportService.
using ClosedXML.Excel;
using PSCBlazorExportExcel.Api.Data;
using PSCBlazorExportExcel.Api.Models;
using System;
using System.Collections.Generic;
using System.IO;
using System.Linq;
using System.Text;
using System.Threading.Tasks;

namespace PSCBlazorExportExcel.Api.Services
{
	public class ExportService
	{
		#region CSV
		public string GetCSV(IEnumerable<Author> list)
		{
			StringBuilder stringBuilder = new StringBuilder();
			stringBuilder.AppendLine("Id,FirstName,LastName");
			foreach (var author in list)
			{
				stringBuilder.AppendLine($"{author.Id},{author.FirstName},{ author.LastName}");
			}

			return stringBuilder.ToString();
		}
		#endregion

		#region Excel
		private byte[] ConvertToByte(XLWorkbook workbook)
		{
			var stream = new MemoryStream();
			workbook.SaveAs(stream);

			var content = stream.ToArray();
			return content;
		}

		public byte[] CreateAuthorExport()
		{
			var workbook = new XLWorkbook();
			workbook.Properties.Title = "Export from authors";
			workbook.Properties.Author = "Enrico Rossini";
			workbook.Properties.Subject = "Export from authors";
			workbook.Properties.Keywords = "authors, puresourcecode, blazor";

			CreateAuthorWorksheet(workbook);

			return ConvertToByte(workbook);
		}

		public byte[] CreateFullExport()
		{
			var workbook = new XLWorkbook();
			workbook.Properties.Title = "Full Export";
			workbook.Properties.Author = "Enrico Rossini";
			workbook.Properties.Subject = "Full Export";
			workbook.Properties.Keywords = "authors, puresourcecode, blazor";

			CreateAuthorWorksheet(workbook);
			CreateOtherWorksheet(workbook);

			return ConvertToByte(workbook);
		}

		public void CreateAuthorWorksheet(XLWorkbook package)
		{
			var worksheet = package.Worksheets.Add("Authors");

			worksheet.Cell(1, 1).Value = "Id";
			worksheet.Cell(1, 2).Value = "FirstName";
			worksheet.Cell(1, 3).Value = "LastName";
			for (int index = 1; index <= AuthorData.Authors.Count; index++)
			{
				worksheet.Cell(index + 1, 1).Value = AuthorData.Authors[index - 1].Id;
				worksheet.Cell(index + 1, 2).Value = AuthorData.Authors[index - 1].FirstName;
				worksheet.Cell(index + 1, 3).Value = AuthorData.Authors[index - 1].LastName;
			}
		}

		public void CreateOtherWorksheet(XLWorkbook package)
		{
		}
		#endregion
	}
}
Now, I created CreateAuthorWorksheet that is creating a new worksheet in the XLWorkbook. Also, you see 2 very identical functions: CreateAuthorExport and CreateFullExport. Why? If you have a lot of data to export, probably you want to have an export for each model but also a full export of all the data. So, I created the CreateFullExport where I call all the worksheet creation. This approach gives you the flexibility to create the combination of export you want. Each create worksheet function adds a new worksheet in the main workbook.
API time
Now, I have to create the API. Quite straight forward. First, in the Startup.cs add the ExportService in the dependency injection. So, I can use it in the controller.
public void ConfigureServices(IServiceCollection services)
{
	services.AddTransient<ExportService>();

	services.AddControllers();
	services.AddSwaggerGen(c =>
	{
		c.SwaggerDoc("v1", new OpenApiInfo { Title = "PSCBlazorExportExcel.Api", Version = "v1" });
	});
}
Then, create a new ExportController. The code for the ExportController is the folllowing:
using Microsoft.AspNetCore.Mvc;
using PSCBlazorExportExcel.Api.Services;

namespace PSCBlazorExportExcel.Api.Controllers
{
	[ApiController]
	[Route("api/[controller]")]
	public class ExportController : Controller
	{
		private ExportService _service;

		private string contentType = "application/vnd.openxmlformats-officedocument.spreadsheetml.sheet";
		private string fileName = "authors.xlsx";

		public ExportController(ExportService service)
		{
			_service = service;
		}

		[HttpGet]
		public IActionResult DownloadAuthorsExport()
		{
			return File(_service.CreateAuthorExport(), contentType, fileName);
		}
	}
}
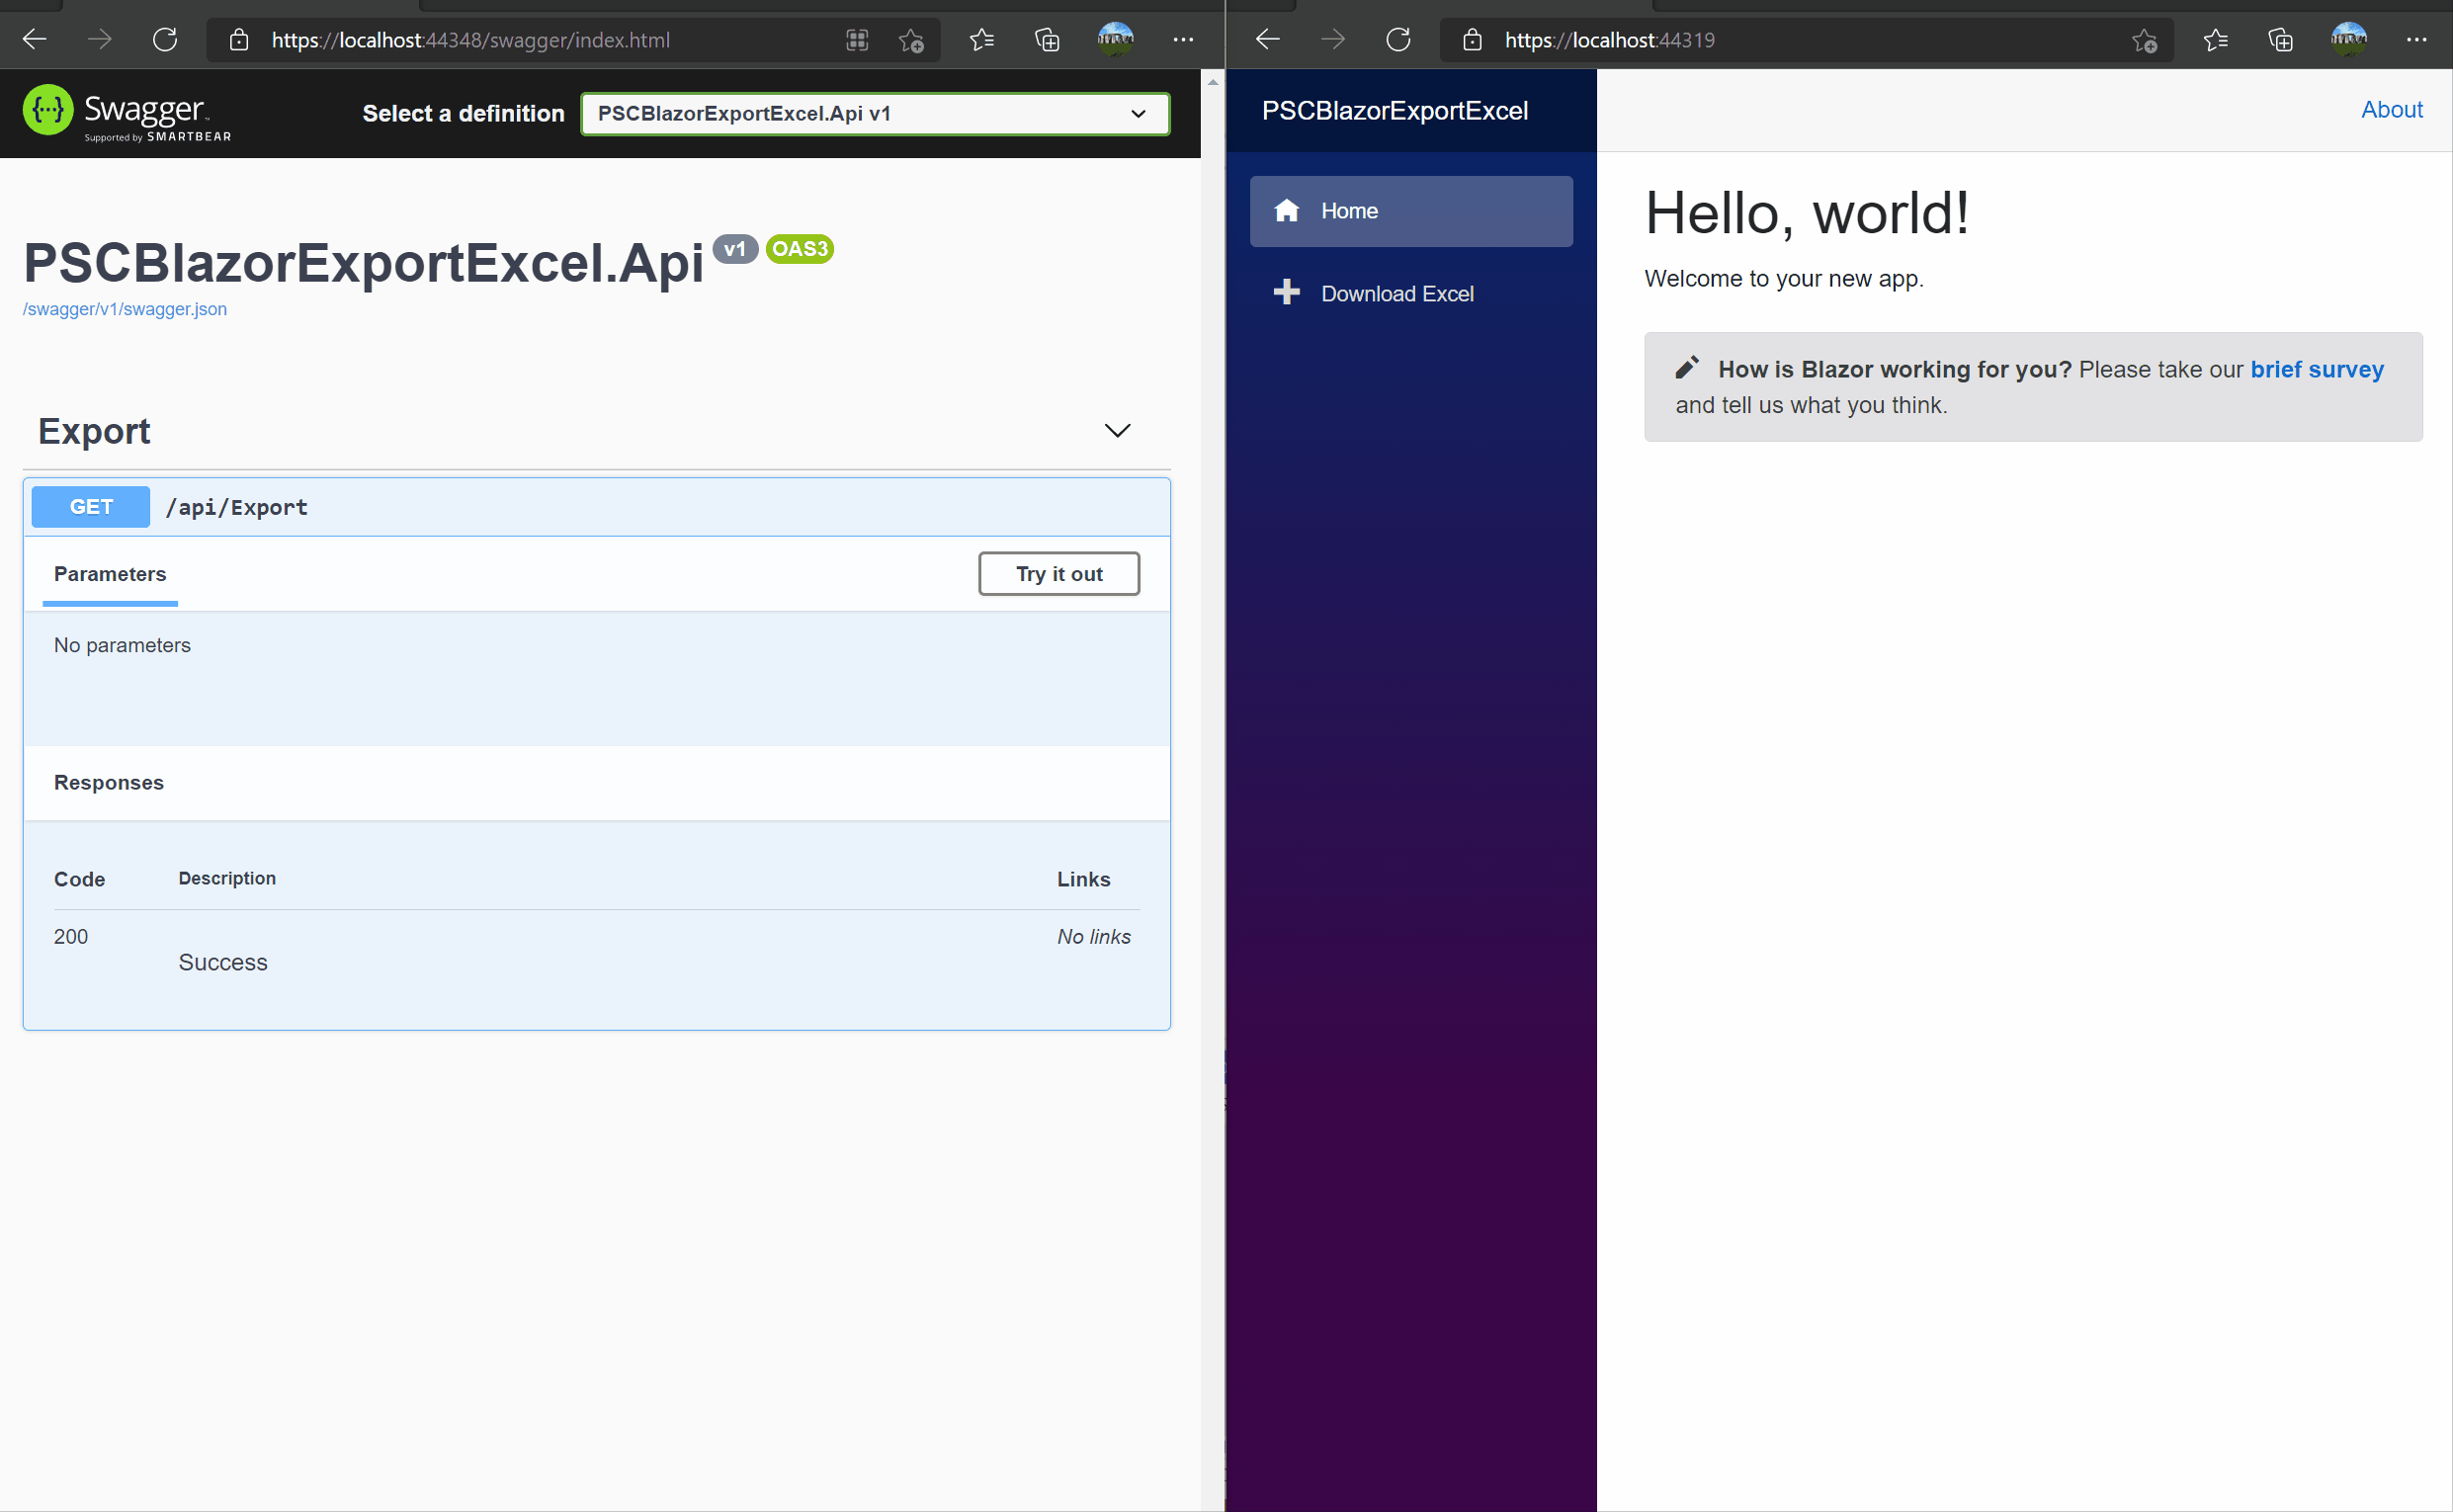
In the code you see a constant for the content type contentType to use in the DownloadAuthorsExport and the file name. You can add another function for downloading the full report, same code different name. Now, I can run the project and play with Swagger. For more information about Swagger, please read this post.
So, press the Execute button and you can download the file.

The file is a normal Excel and you see the worksheet has the name I defined in the ExportService.

This is cool! The title of this post is “How to Export Data to Excel in Blazor”. I haven’t spoke about Blazor yet. Now that the API are ready I take care of Blazor.
Spoiler alert: a simple call to the
DownloadAuthorsExportis not enough in Blazor to start to download the file
CORS
There is one important configuration to do in the WebAPI Startup.cs about CORS. Cross-Origin Resource Sharing (CORS) is an HTTP-header based mechanism that allows a server to indicate any other origins (domain, scheme, or port) than its own from which a browser should permit loading of resources. CORS also relies on a mechanism by which browsers make a “preflight” request to the server hosting the cross-origin resource, in order to check that the server will permit the actual request. In that preflight, the browser sends headers that indicate the HTTP method and headers that will be used in the actual request.
Without the right configuration in the WebAPI project, the Blazor application won’t be allow to use the api. To add CORS in the Startup.cs under ConfigureServices add this code:
readonly string MyAllowSpecificOrigins = "_myAllowSpecificOrigins";

public void ConfigureServices(IServiceCollection services)
{
	services.AddCors(options =>
	{
		options.AddPolicy(name: MyAllowSpecificOrigins,
			builder =>
			{
				builder.AllowAnyOrigin()
					   .AllowAnyMethod()
					   .AllowAnyHeader();
			});
	});
}
So, this code allows the WebAPI to replies to every call from any origin, any method and header. In a real application, you could be changed those settings for security reason.
Then, in the Configure method, add
app.UseCors(MyAllowSpecificOrigins);
Download a file from Blazor
Now, there is an important thing to have in mind. A Blazor component is not an HTTP endpoint like an MVC view, so like MVC if I try to return FileResult from component, is not going to trigger the download by the browser.
So, that’s the reason I need to create and use JavaScript to invoke the file save action and I’ll invoke JavaScript function using JSInterop feature.
Then, in the Blazor project, create a JS folder and create a JavaScript file named download.js and add the following code
window.saveAsFile = function (fileName, byteBase64) {
    var link = this.document.createElement('a');
    link.download = fileName;
    link.href = "data:application/octet-stream;base64," + byteBase64;
    this.document.body.appendChild(link);
    link.click();
    this.document.body.removeChild(link);
}
Add JavaScript file
Now, add this JavaScript file in index.html file (in case of Blazor WebAssembly project) or to the _Host.cshtml file (in case of Blazor server project) just before the body closing tag like below

Create a Razor component
Add a Razor component named DownloadFile.razor to the Pages folder and add the following code
@page "/downloadexcel"
@inject IJSRuntime JSRuntime
@inject HttpClient _httpClient

<h3>Click Button to download Excel</h3>

<button @onclick="@(async() => await DownloadFile())">Download</button>

@if (IsDownloadStarted == 1)
{
	<p>Downloading...Please wait</p>
}
else if (IsDownloadStarted == 2)
{
	<p>Download complete.</p>
}

@code {
	public int IsDownloadStarted { get; set; } = 0;

	protected async Task DownloadFile()
	{
		if (await JSRuntime.InvokeAsync<bool>("confirm", $"Do you want to Export?"))
		{
			IsDownloadStarted = 1;
			StateHasChanged();

			var response = await _httpClient.GetAsync("/api/export");
			response.EnsureSuccessStatusCode();

			var fileBytes = await response.Content.ReadAsByteArrayAsync();
			var fileName = $"Authors{DateTime.Now.ToString("yyyy-MM-dd", System.Globalization.CultureInfo.InvariantCulture)}.xlsx";
			await JSRuntime.InvokeAsync<object>("saveAsFile", fileName, Convert.ToBase64String(fileBytes));

			IsDownloadStarted = 2;
		}
	}
}
Here, the component asks to the user if he wants to download the file because the button invokes DownloadFile(). If the user confirms, a call is made to the api. When the api replies, the code reads the content in a byte array and then invokes saveAsFile via IJSRuntime. saveAsFile is the function in the download.js
One important thing to do is to configure HttpClient with the right URI. For that, in the Program.cs add before builder.Build()
builder.Services.AddScoped(sp => new HttpClient {
	BaseAddress = new Uri("https://localhost:44348")
});

await builder.Build().RunAsync();
The URI is related to the local WebAPI project. In a real world, we have to use the public URL.
Conclusion
Finally, we understand how to Export Data to Excel in Blazor and set the right configuration in the WebAPI project. The source code of this post is on GitHub. If you have any question, please use the comment at the bottom of tis page or our forum.